View Poll Results: Please select a winner

Voters
10. You may not vote on this poll
  • jerrytech1

    0 0%
  • dd0725

    4 40.00%
  • M_Six

    0 0%
  • Kayaker72

    6 60.00%
Page 1 of 4 123 ... LastLast
Results 1 to 10 of 32

Thread: Congratulations Kayaker72---Assignment #65: "Before and After"

Hybrid View

Previous Post Previous Post   Next Post Next Post
  1. #1
    Super Moderator Kayaker72's Avatar
    Join Date
    Dec 2008
    Location
    New Hampshire, USA
    Posts
    5,665

    Congratulations Kayaker72---Assignment #65: "Before and After"

    On behalf of conropl, I would like to present the finalists for Assignment #65: Before and After.

    The topics as described by conropl:

    For this assignment I would like to see Before and After shots. The After shots should demonstrate a technique or process that transformed a plain dull shot into something extraordinary. This can be the first shot was dull so you changed the lighting, composition, or concept to really make it come to life; or perhaps you extended the exposure time to create a completely different effect than you expected or started out with; or perhaps the post processing really brought it to life (B&W, HDR, etc.). You are free to interpret as you wish, and the after effect can be done in camera or in post processing.

    Knowing you folks, I am pretty sure I can learn a thing or two with this assignment, and I thank you in advance.


    The Finalists:

    A lot of good entries and I do not quite feel right about leaving some really good shots out. But I had to choose, so here are my picks:

    jerrytech1 (brownnnBW)
    - I like the B&W processing, but the crop and cloning helped a lot as well. The "after" has a totally different feel to it.
    Before:


    After:


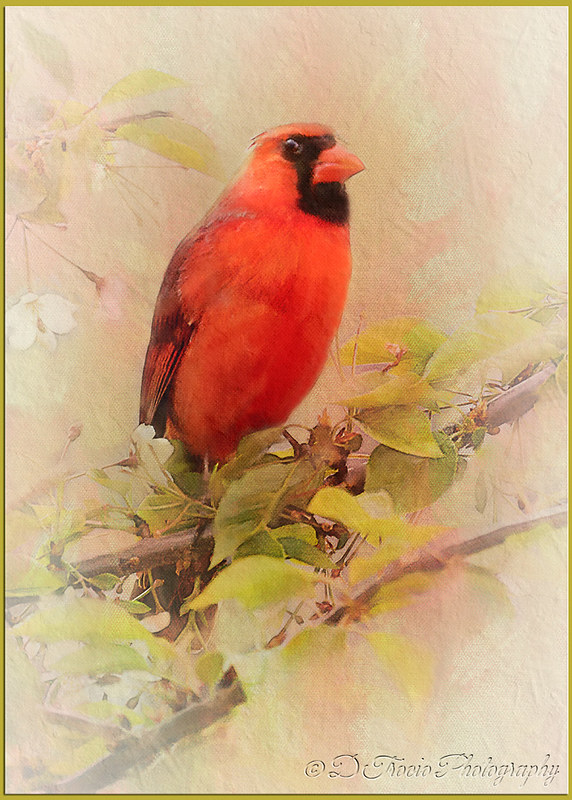
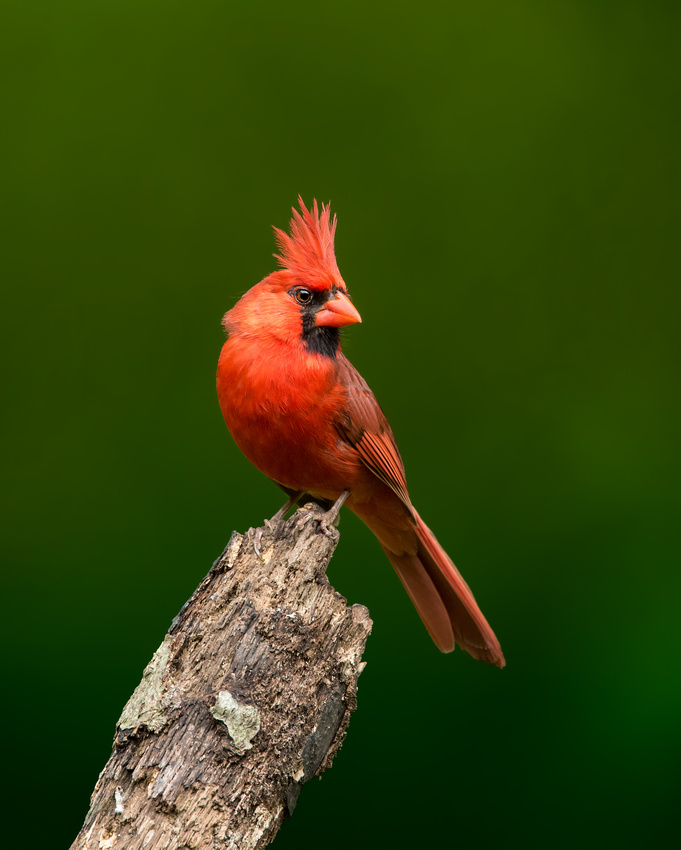
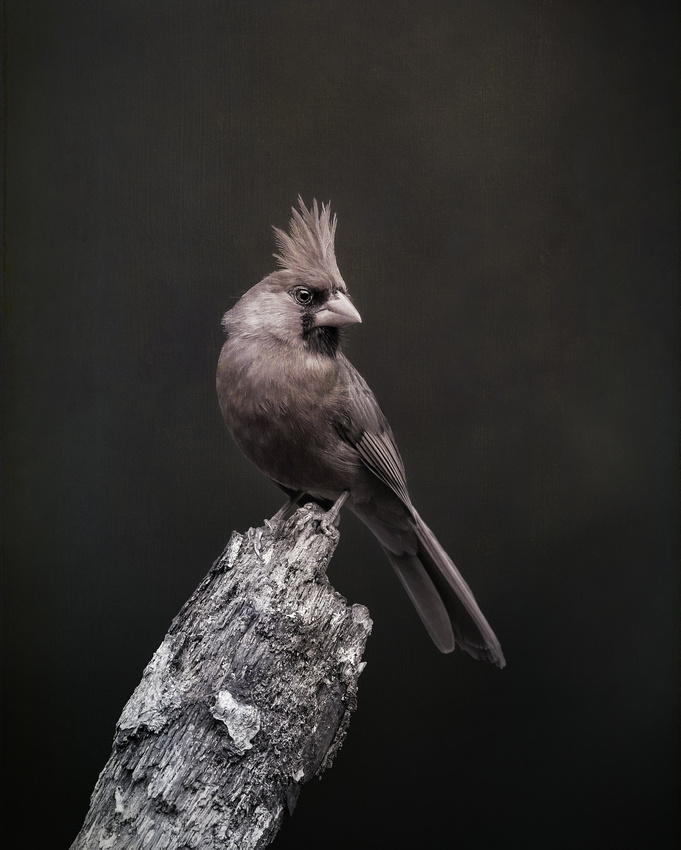
    dd0725 (Digitally Painted Cardinal with Canvas Texture) - Denise had a lot of really good examples, but the cardinal "after" version took a rather ordinary shot with a bird that was to small to do anything with it (or that is what I would have thought) and transformed it to something that could easily hang on a wall. I was amazed at what Denise could do with what I thought was a throw away shot. Denise - you make my post processing look like child's play.

    Before:


    After:


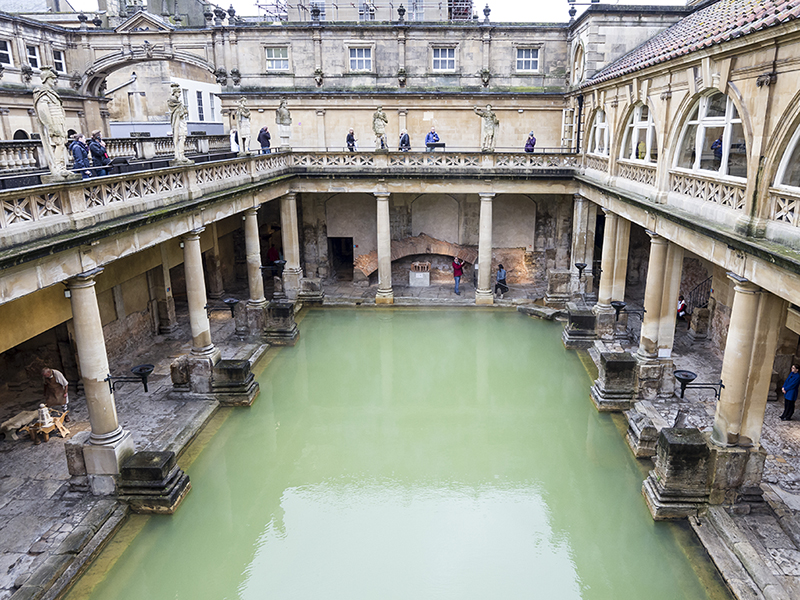
    M_Six (Pseudo HDR) - This went from a tourists snap shot to a nice travel landscape. The shot looks so much better with the people removed, the perspective & crop adjusted, and the water looks so much better. The overall feel is much improved.

    Before:


    After:


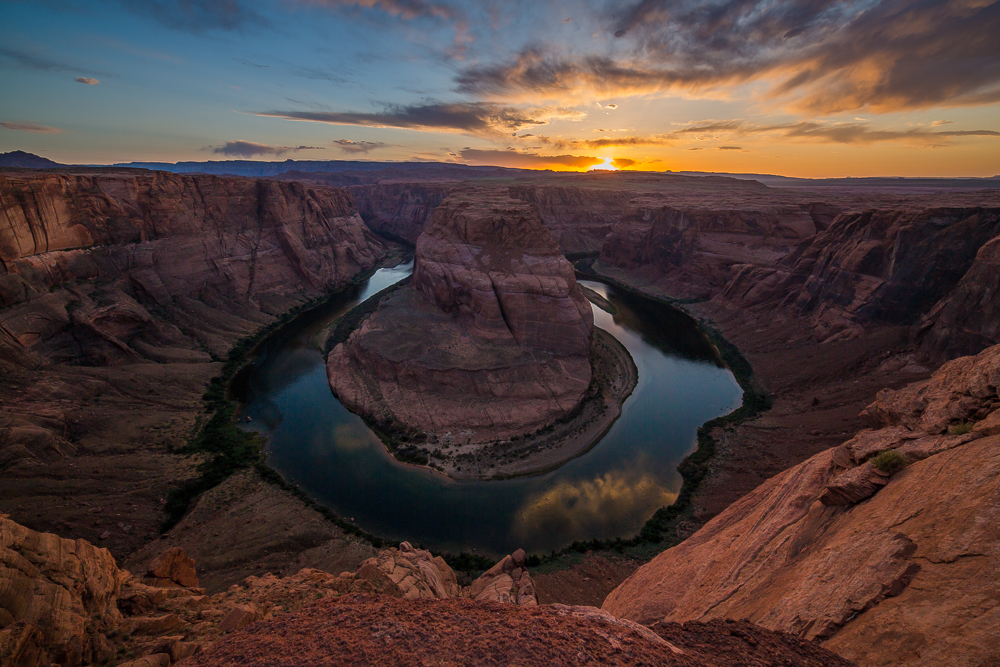
    Kayaker72 (Horseshoe Bend) - I was amazed at what you pulled out of the shadows in this one... and at the same time, you managed to tame the highlights that were a little blow around the sun. This was an eye opener for me at how far you can go in post processing. Great finished image.

    Before:


    After:


    Good luck!
    Last edited by Kayaker72; 07-29-2014 at 12:37 PM.

  2. #2
    Senior Member
    Join Date
    May 2014
    Location
    New Jersey
    Posts
    382
    Before:
    brown by jerrytech1, on Flickr

    After: Cropped, removed leash and added Topaz BW FilterbrownnnBW
    by jerrytech1, on Flickr

  3. #3
    Senior Member Jayson's Avatar
    Join Date
    Dec 2008
    Location
    Nebraska, USA
    Posts
    1,908
    This is not my entry. It may not be the best photo, but it shows good before and after. First is SOC. Second I processed in LR using Curves and bringing out a little color, then moved to PS and used LAB color effect.


    There are a couple landscapes so I may look for a portrait to enter.
    Last edited by Jayson; 06-11-2014 at 04:27 PM.

  4. #4
    Senior Member
    Join Date
    Dec 2008
    Location
    Ottawa, ON
    Posts
    1,466
    re: new flickr...

    On the strip of meaningless icons, click on the box with the arrow coming out of it (sharing).
    Click BBCode.
    Click the size dropdown and pick a good size. I still use 800, since it's an option, even though the forum is slightly wider now.
    Copy the generated snippet of code and paste into a reply.
    Once here, if you want to preview what it looks like, after putting in your BBCode, hit the 'Go Advanced' button, you'll see your image.
    If you need to edit, after editing click preview post and you'll see the new version.
    On Flickr - Namethatnobodyelsetook on Flickr
    R8 | R7 | 7DII | 10-18mm STM | 24-70mm f/4L | Sigma 35mm f/1.4 | 50mm f/1.8 | 85mm f/1.8 | 70-300mm f/4-5.6L | RF 100-500mm f/4-5-7.1L

  5. #5
    Senior Member
    Join Date
    Dec 2008
    Location
    Kenosha, WI
    Posts
    3,863
    Thank you , David & Pat! I thought that was what I tried earlier this morning but I was getting an error message. I will try again ...obviously, I was doing something wrong.

  6. #6
    Senior Member
    Join Date
    Dec 2008
    Location
    Kenosha, WI
    Posts
    3,863
    Ok, here is one I did not too long ago. I just started learning how to paint digitally and this is one of the first one's that I attempted to practice on. Since I had just started learning how to use a Wacom tablet and digitally paint, I was pretty pleased with the result.

    Off-duty K9 officer (and fellow Packer fan) ...

    Before & After Digital Painting by Denise Trocio (D Trocio Photography), on Flickr

  7. #7
    Senior Member
    Join Date
    Dec 2008
    Location
    Kenosha, WI
    Posts
    3,863
    Ok, so I love this assignment topic!

    BEFORE:


    IMG_9289_Before Editing by Denise Trocio (D Trocio Photography), on Flickr

    AFTER:


    Ahoy, Mates! by Denise Trocio (D Trocio Photography), on Flickr

  8. #8
    Senior Member
    Join Date
    Dec 2008
    Location
    Central Kentucky
    Posts
    3,619
    I have to give this a shot although I don't have the artistic flare of Denise....

    BEFORE


    AFTER

  9. #9
    Senior Member
    Join Date
    Dec 2008
    Location
    Kenosha, WI
    Posts
    3,863
    Fantastic before shot, Joel and the after is such a wonderful transformation!

    Here is a shot I took of a cardinal from my bedroom window on a very dark and dreary morning. I couldn't pass it up since it was rare to get a clear shot ...

    Click image for larger version. 

Name:	IMG_7185_TDP.jpg 
Views:	300 
Size:	138.2 KB 
ID:	2217

    and after a lot of tweaking, digital painting and applying a canvas texture...


    Digitally Painted Cardinal with Canvas Texture by Denise Trocio (D Trocio Photography), on Flickr

  10. #10
    Senior Member
    Join Date
    Nov 2011
    Location
    Big Mouse Florida
    Posts
    1,187
    HA! Told you i told you i would vote for denise
    If you see me with a wrench, call 911

Posting Permissions

  • You may not post new threads
  • You may not post replies
  • You may not post attachments
  • You may not edit your posts
  •