Page 6 of 8 FirstFirst ... 45678 LastLast
Results 51 to 60 of 79

Thread: Before and after post processing

  1. #51
    Senior Member
    Join Date
    Dec 2008
    Location
    Melbourne, FL
    Posts
    1,246

    Re: Before and after post processing


    Quote Originally Posted by Jan Paalman


    I think you did a great job...just out of curiosity: could you hint a bit to the actions you have made on it? Don't need to know the entire process, but an ideaon how it's been done would be very much appreciated [img]/emoticons/emotion-2.gif[/img]


    Thanks Jan!


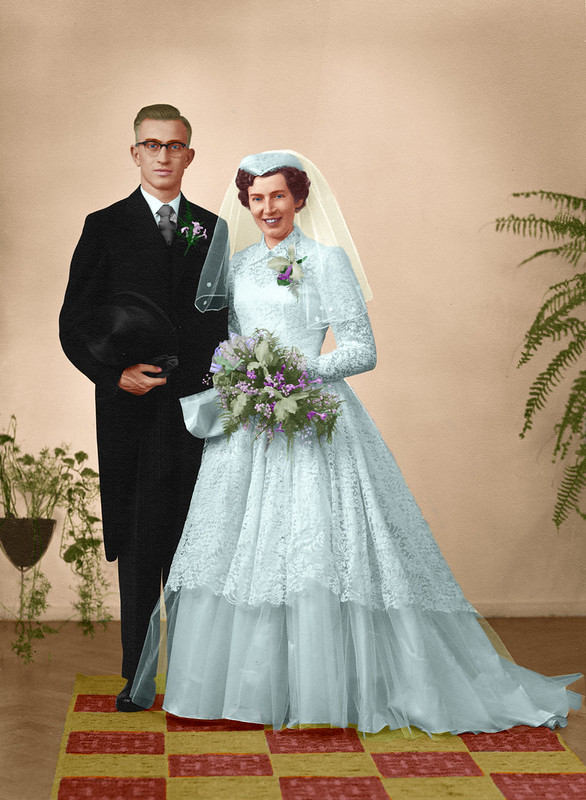
    Well I after I tried all the easy stuff I thought might work, I realized I was going to have to do it the hard way.


    I copied the layer, inverted the colors then played with the hue&saturation until the rusty sections looked close to the yellowish color the clean sections were. Then I added a layer mask and filled it with black. Then with white as the foreground color I reverse painted over it to fill it with the altered layer. This takes a lot of brush flow and resizing changes to get all the different areas right. It is time consuming but worth it. There were some areas that just out right needed to be repainted so I make a new layer select a color from the clean areas and lightly brush it in. I use some gaussian and motion blurs to make them blend nicely, sometimes create a layer mask a brush it to feather some spots.


    To smooth out some of the clunky blue spots I copied the layer, do a heavy dust and scratch + gaussian blur + noise + gaussian blur. Then I add a layer mask fill it with black then paint with white over the problem areas and now you know all my (not so) secrets for fixing skin too.


    There was some other "touch" stuff done also to even colors out, like dodging and burning.

  2. #52
    Senior Member
    Join Date
    Dec 2008
    Location
    The Netherlands
    Posts
    2,304

    Re: Before and after post processing

    My mother in law has this old picture of my father in law in her '67 VW Beetle. In the years it's quite damaged by the elements and a small kid. It was the only copy of that photo and my girlfriend asked me to try to "repair" it, while keeping the vintage look. Here's my edit: (it's not that smooth on 100%, but it's originally a 2*3" photo and that's what I was aiming for again)


    Reviving the old man by Jan Paalman, on Flickr
    Last edited by Sheiky; 10-16-2012 at 07:23 PM.

  3. #53
    Senior Member William's Avatar
    Join Date
    Dec 2008
    Location
    Australia
    Posts
    241

    Re: Before and after post processing


    Nice work Jan. I

  4. #54
    Senior Member
    Join Date
    Dec 2008
    Location
    IL
    Posts
    778

    Re: Before and after post processing


    When in the Netherlands ...
    Words get in the way of what I meant to say.

  5. #55
    Senior Member William's Avatar
    Join Date
    Dec 2008
    Location
    Australia
    Posts
    241

    Re: Before and after post processing


    Gotcha [:P]

  6. #56
    Senior Member bouwy's Avatar
    Join Date
    Dec 2008
    Location
    Melbourne Australia
    Posts
    565

    Re: Before and after post processing


    When in the Netherlands ...


    Gotcha


    LOL
    Wally Bouw Flickr Vimeo

  7. #57
    Junior Member
    Join Date
    Dec 2008
    Posts
    9

    Re: Before and after post processing


    This thread inspired me to play with DPP. After a long evening, I'm very pleased with my results. I suppose I'll have to make many garish adjustments before I awaken from my post-processing stupor.

    Many thanks,
    * * * John

  8. #58
    Senior Member
    Join Date
    Dec 2008
    Location
    The Netherlands
    Posts
    2,304
    I'll bump this thread up a bit. I tried to color an old B&W image last week. This is the original and the result:


    My grandparents original by Jan Paalman, on Flickr


    My grandparents by Jan Paalman, on Flickr

    The process:

    This image needed quite some work. 10 hours so far to be exact, but I must say that I was new to all of this. The PSD file is 1.4 GB and the image has 30 layers on top of the original file.

    The coloring itself isn't actually that hard. It is done by adding a color balance layer and masking the area's that you want to "paint". With each color balance layer you need to create your own color and I think this is the hardest part. To get the colors right. The layer exists of a 3 tones color balance. You can set a specific color for shadows, highlights and mid-tones. For most of the layers I kept it easy and just worked with one of the tones.
    Last edited by Sheiky; 10-17-2012 at 06:48 PM.

  9. #59
    Senior Member btaylor's Avatar
    Join Date
    Dec 2008
    Location
    No fixed address, how good is that!
    Posts
    1,024
    Gees Jan you've done a really good job there! It almost looks like a painting. That must've been painstaking work. Good stuff mate.
    http://www.flickr.com/photos/ben_taylor_au/ www.methodicallymuddled.wordpress.com
    Canon 5D Mark III | Canon 5D Mark II | Samyang 14mm f/2.8 | Canon 35mm f/1.4L USM | Sigma 85mm f/1.4 EX DG HSM |Canon 70-200mm f/2.8L IS II |Canon 2 x Teleconverter III | Canon 580 EX II Speedlite | Really Right Stuff TVC 34L | Really Right Stuff BH55 LR | Gorillapod Focus | Really Right Stuff BH 30

  10. #60
    Senior Member
    Join Date
    Dec 2008
    Posts
    155
    WOW Sheiky that is a great job. Lots of detailed work there. Nice one.

    Lary

Posting Permissions

  • You may not post new threads
  • You may not post replies
  • You may not post attachments
  • You may not edit your posts
  •