-
Senior Member

Creative post processing - before & after
Hi All,
I thought it might be fun to start a thread on creatively post-processed images, showing the before and after versions, and ideally the processing steps to go from the original to the final image.
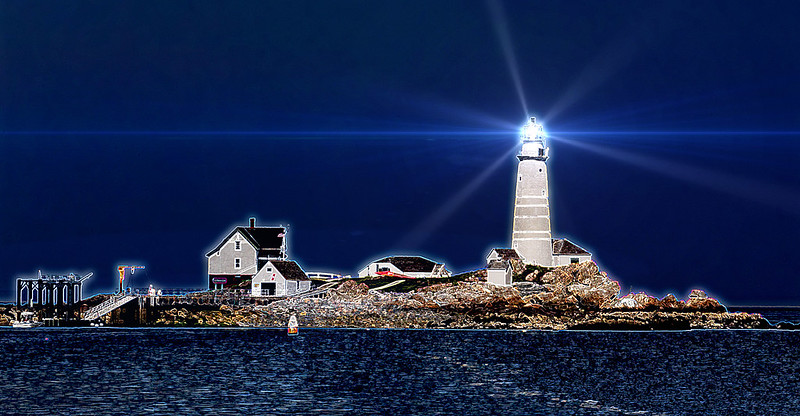
I'll start off with a shot of Boston Light, on Little Brewster Island in the Boston harbor. The only way to get to shots of the lighthouse in 'good light' (sunrise, sunset) is to have your own boat; the tours go out in the middle of the day. This shot was taken from the tour boat on the return trip, at about 4pm on a hot summer day (~90 °F) with a hazy sky - not particularly good light. Taken with the 1D X, EF 70-300mm f/4-5.6L IS USM @ 300mm.

For processing, I did the following:
- Opened image in Photoshop CS6
- Duplicated image in new layer
- Filter Gallery > Glowing Edges (width 5, brightness 10, smoothness 6)
- Blended layer as Vivid Light (100% opacity, 50% fill)
- Magic wand selection of sky (tolerance = 20, anti-alias and contiguous)
- Filter menu > Blur > Gaussian blur (radius = 20.0)
- Cropped image (remove about half of water at bottom and and a bit of sky at top)
- Saved as JPG
- Opened image in LensFlares app for Mac OS X
- Added Polaris flare (decrease brightness by ~50%, increase scale by ~50% and adjust rotation)
- Added Gamma Rays flare (decrease brightness by ~80%, adjust aspect ratio ~50% rightward)
- Saved as JPG
Here's the result:
Thanks for looking...and thanks in advance to anyone willing to share!
--John
Last edited by neuroanatomist; 09-19-2013 at 03:52 PM.
-
Good idea and nice image....I have always enjoyed this type of work.
-
A related thread was active a few years ago. There are some good examples there as well: http://community.the-digital-picture...ead.php?t=3925 but many of the early images are gone.
I look forward to some nice transformations.
Lars
-
brilliant idea for a thread Neuro,
might the end result be a tiny bit "overcooked?" I was thinking if you took the two images back to cs6 (before cropping) and put them in two separate layers and put blend at say 50-70% you would get all the magic of the light house lights without the halos. Just an idea. It also looks cool if you substitute multiple for normal blend.
-
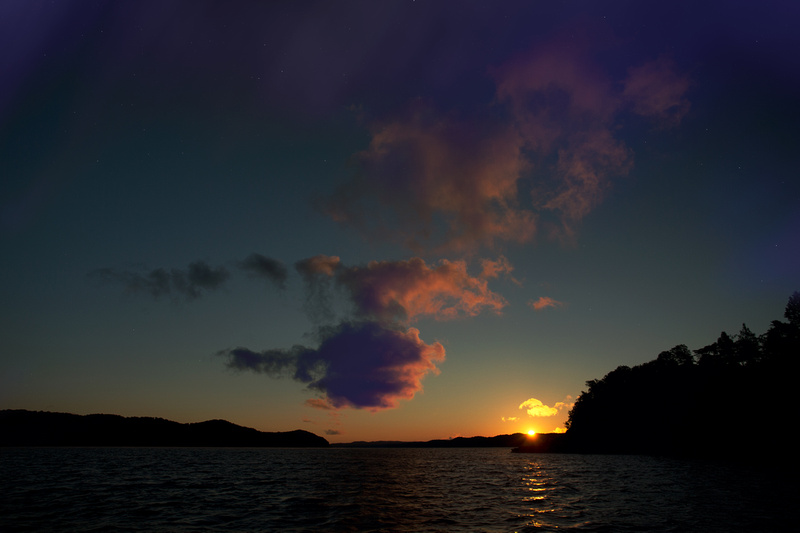
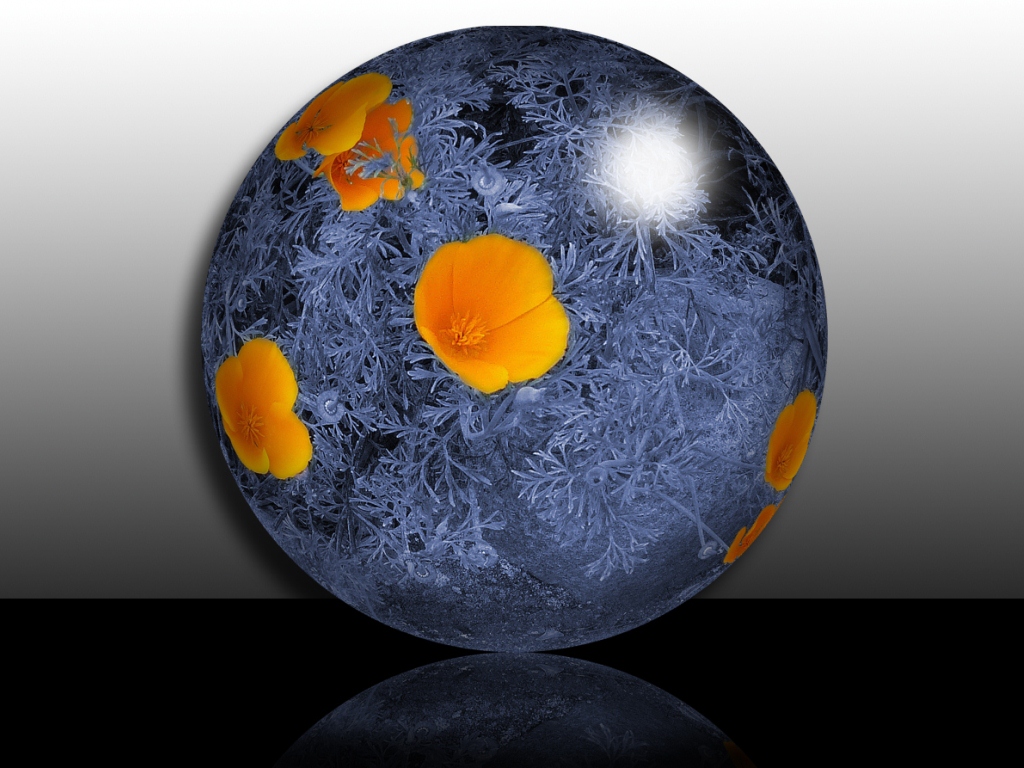
BEFORE:

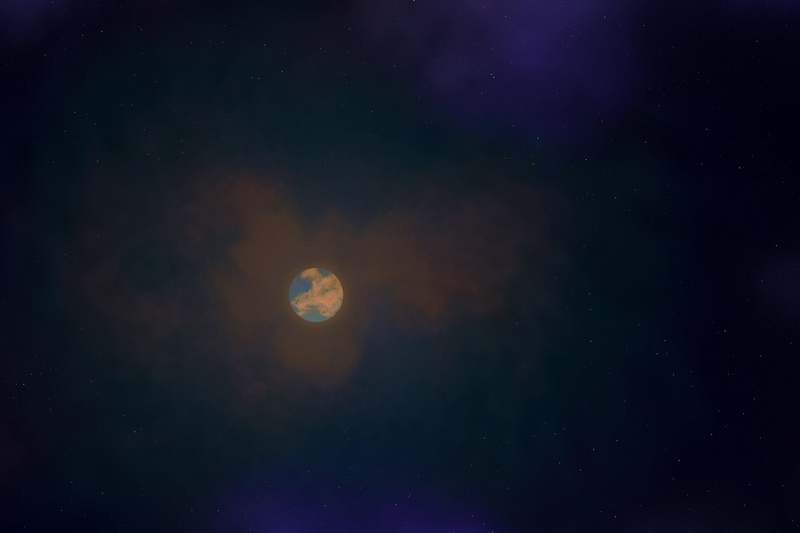
AFTER:

Filters used:
1. Pixel Bender: Tube View
2. Flaming Pear: Glitterato
3. Topaz Adjust 5
-
Senior Member

5DS R, 1D X, 7D, Sigma 10-20mm f/4-5.6
, 24mm f/1.4
L II, 16-35mm f/4
L IS, 24-105mm f/4
L, 50mm f/1.8
, 100mm Macro f/2.8
L, 70-200mm f/2.8
L IS II
, 100-400mm f/4.5-5.6
L, 580EX-II
flickr
-
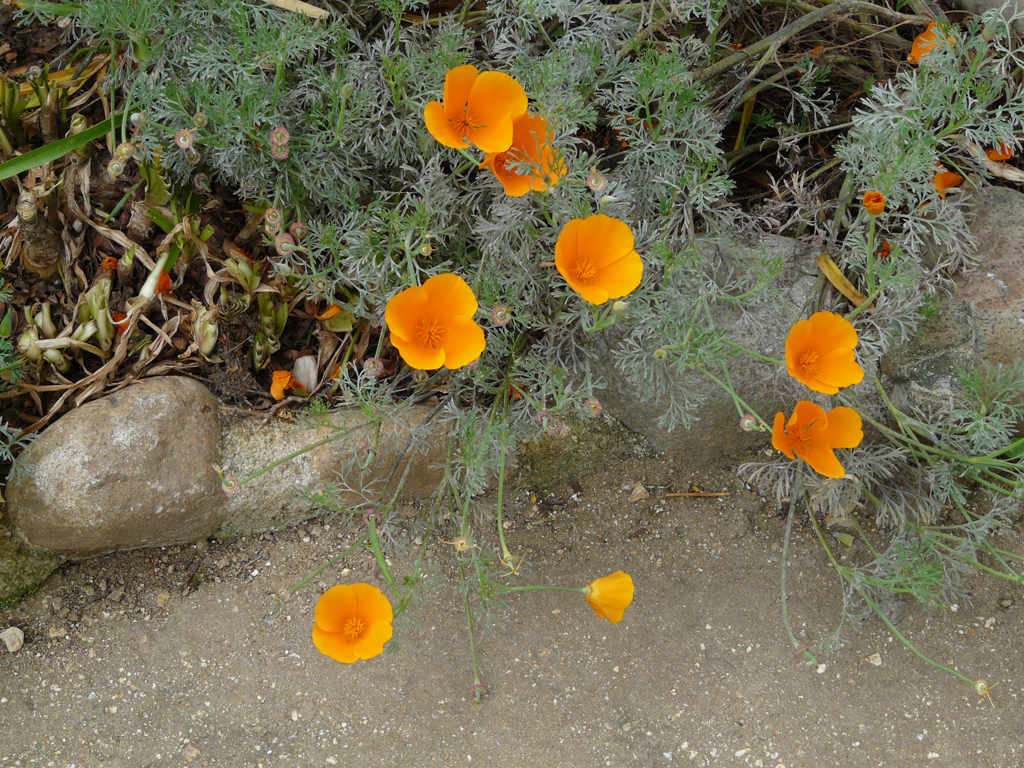
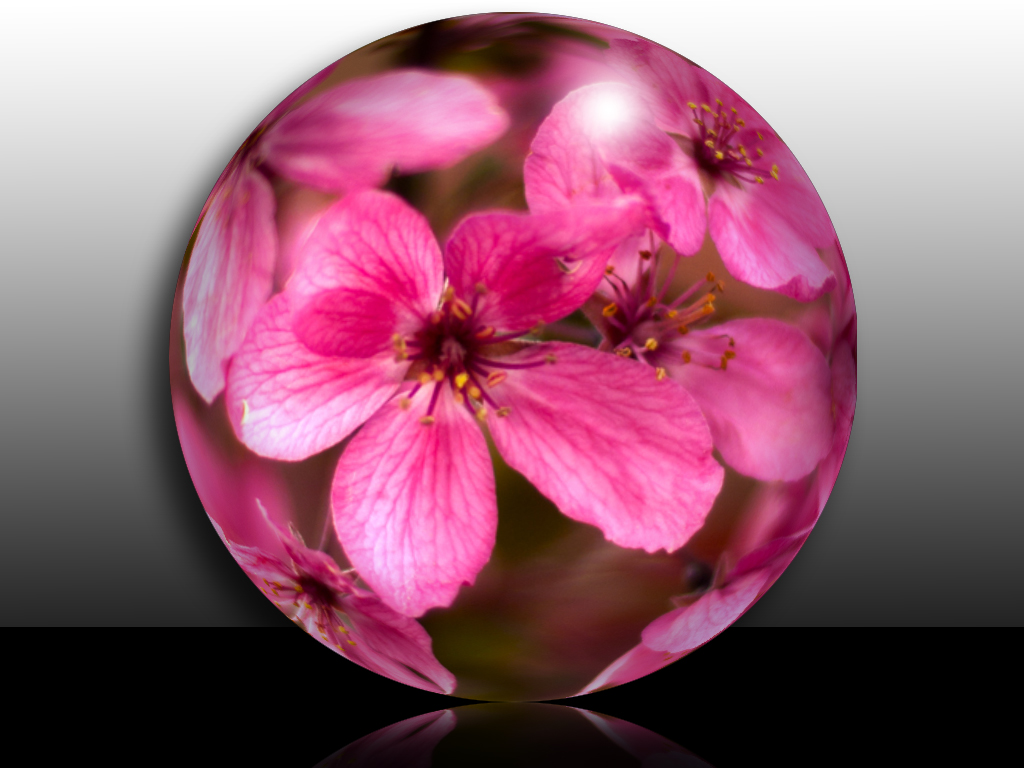
Before


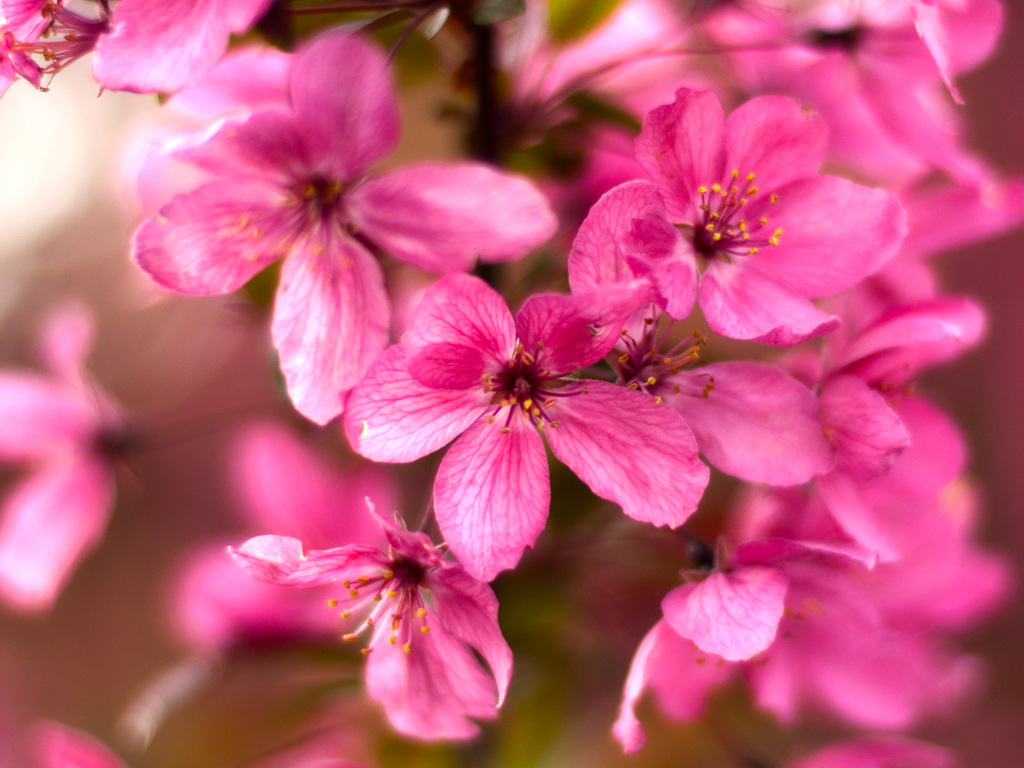
After


The many steps will fill a page, but Google "Glass Globes in Photoshop" and you'll find the tutorials.
Mark -
Flickr
************************
-
Senior Member

Mark, you inspired me. 
"Fall is Here"

From this:
-
Very cool. I've had people ask me to show them the actual glass globe. I love the outer glow on yours making it look backlit.
Mark -
Flickr
************************
-
Love the globes! I'll have to give it a try.
 Posting Permissions
- You may not post new threads
- You may not post replies
- You may not post attachments
- You may not edit your posts
-
Forum Rules


 Reply With Quote