Page 4 of 8 FirstFirst ... 23456 ... LastLast
Results 31 to 40 of 79

Thread: Before and after post processing

  1. #31
    Senior Member Bill W's Avatar
    Join Date
    Dec 2008
    Location
    Haverhill, MA
    Posts
    662

    Re: Before and after post processing


    Ghoulish Halloween humor and I have a question. The original picture (my library) is a jpeg and I would like to further enhance (sic) the 2nd photo by placing the head at the feet of the children, turned 90* to the right.


    I work in CS3....if someone could help me w/the step by step process to make this manipulation, I would appreciate it. I also plan to put a pool of blood around the head.


    I promise my nephew and niece will not see their father's head at their feet and the headless torso.


    [img]/resized-image.ashx/__size/800x600/__key/CommunityServer-Discussions-Components-Files/13/6787.A-J2-J-Halloween-2010-orig-copy.jpg[/img]


    [img]/resized-image.ashx/__size/800x891/__key/CommunityServer-Discussions-Components-Files/13/2605.Allison-J2-_2600_-Headless-monster-Halloween-2010-copy.jpg[/img]


    Thank you


    Bill


  2. #32
    Senior Member
    Join Date
    Dec 2008
    Posts
    300

    Re: Before and after post processing


    Bill, Before you make the layer to remove the head like you did, make another layer from a selection of the head. Then make your layer and remove the head doing whatever you did to get it like in your second image that way it will be gone and out of your way. Next, activate the layer copy of the head and select the Move tool to move it where you want. if you need to rotate it you can use the free transform or rotate tools. You'll have to smooth and feather the edges too.


    Additionally, If you wish to make the blood look more gory / realistic, If CS3 has the same filters as CS4 and CS4 then make a selection of the blood only and create a mask for that selection then go into Filters / Artistic / Plastic Wrap. The Plastic Wrap does a good job of making blood look more realistic and gory. And maybe use the smudge tool to gradually blend/smudge the blood down the sweatshirt.


  3. #33
    Senior Member Bill W's Avatar
    Join Date
    Dec 2008
    Location
    Haverhill, MA
    Posts
    662

    Re: Before and after post processing


    Thanks Tim.......I'll try the layers & mask (my weaknesses) and I hadn't thought about filters and smudge tool for the blood.


    If I have satisfactory success, I'll re-post the result.


    Edit; I've spent a few minutes w/your suggestion for making gorier, realistic blood. The filters are the same in 3 & 4....I used the smudge first, then plastic wrap, adjusted color, then tried water paper. The water paper filter resulted in a blood spattering effect.....very nice looking in conjunction w/the other tools. The effect is better in the whole pic.


    [img]/resized-image.ashx/__size/800x500/__key/CommunityServer-Discussions-Components-Files/13/8372.blood-splatter.jpg[/img]


    Now it's on to layers, masking and moving....wish me luck.


    Regards,


    Bill

  4. #34
    Senior Member
    Join Date
    Dec 2008
    Posts
    300

    Re: Before and after post processing


    Good Luck!


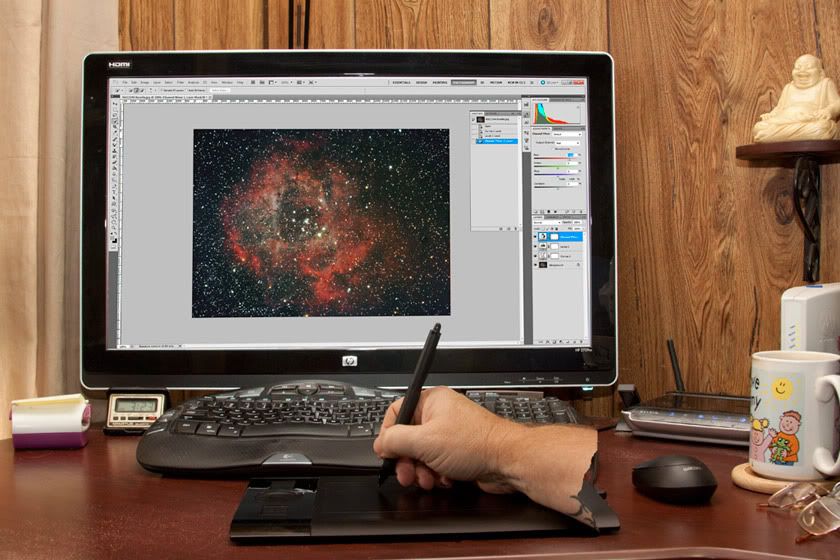
    Working with layers and layer masks is still one of my weak points with Photoshop, but I am learning. There is so much more you can do, more than many people can possibly imagine, when utilizing them right. Playing around with the various filters is fun also.


    Here is an example of me working on the Rosette Nebula.


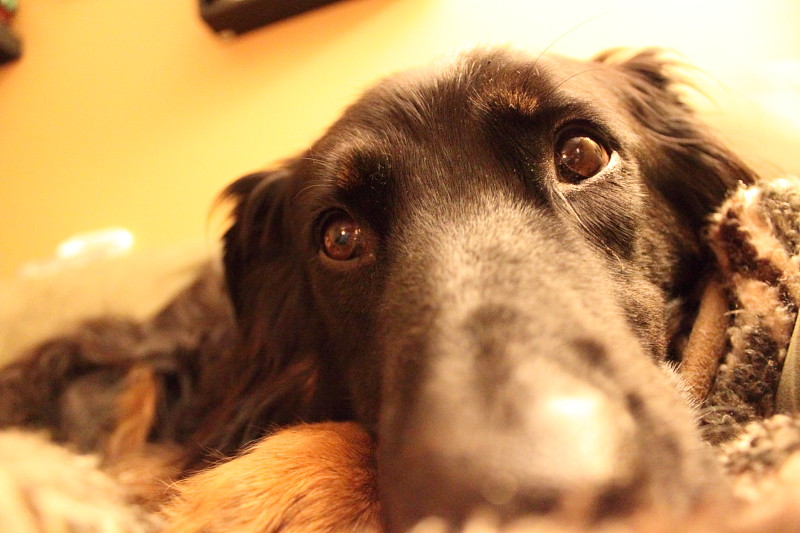
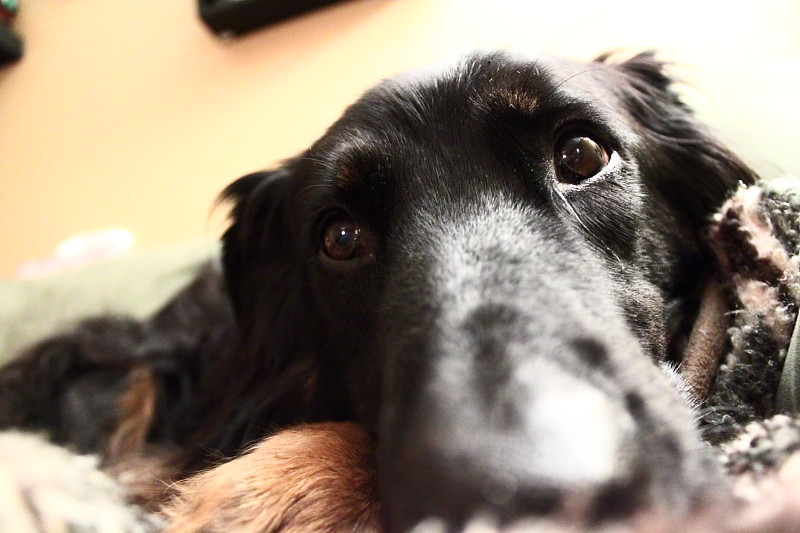
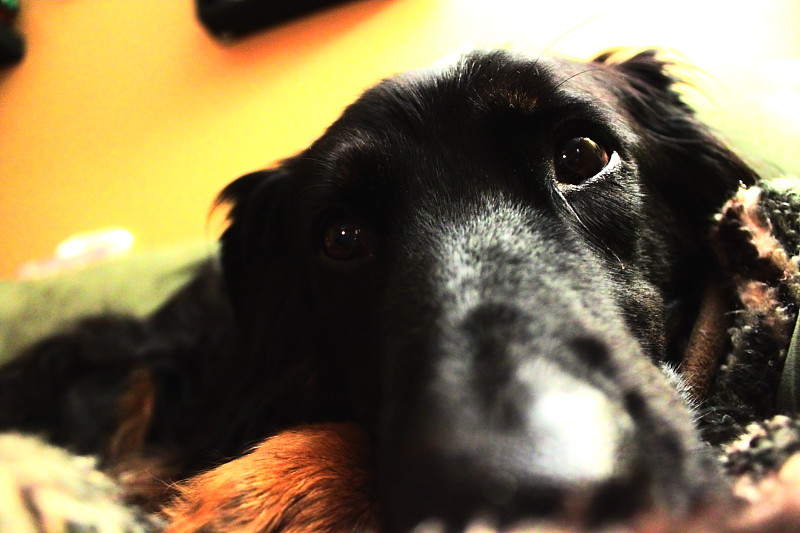
    Here is my 6 month old grand daughter for Halloween.

  5. #35
    Senior Member
    Join Date
    Dec 2008
    Location
    Norway
    Posts
    139

    Re: Before and after post processing


    Quote Originally Posted by btaylor


    It's really interesting to see the different styles people apply to their images. Great thread! Here's one of mine, took a very long time to clone out the old car left of frame. This is from an engagement shoot I did a little while back. I'm shooting the wedding in 2 weeks.


    Thanks for looking!


    Before:


    [img]/cfs-file.ashx/__key/CommunityServer-Discussions-Components-Files/13/6840.Simon-and-Sherina_2D00_1_2D00_116.jpg[/img]


    After:


    [img]/cfs-file.ashx/__key/CommunityServer-Discussions-Components-Files/13/1563.t.jpg[/img]
    <div style="clear: both;"]</div>


    This was a great effect. I would be delighted to know what software and filters/adjustment you did to create the image. I tend to be too careful when I post-process images, and have never managed something like this...


    Lars

  6. #36
    Senior Member Bill W's Avatar
    Join Date
    Dec 2008
    Location
    Haverhill, MA
    Posts
    662

    Re: Before and after post processing


    Tim....just a bit disconnected while working on the nebula? And your granddaughter has quite the choppers for 6 months....if I remember correctly JJphoto is a dentist....maybe he can help.


    Yeah, layers and masking are going to take me longer......love that step back option.


  7. #37
    Senior Member
    Join Date
    Dec 2008
    Posts
    300

    Re: Before and after post processing


    Bill, I see something else in you latest picture. I can see the edge outline! You can probably fix that using a selection tool, modify the selection to expand it, and then smooth and feather. or you can use the blur tool. But I would probably prefer something like the color dodge or color burn tools and lightly brush over them to blend those edges better.

  8. #38
    Senior Member
    Join Date
    Dec 2008
    Location
    Ottawa, ON
    Posts
    1,445

    Re: Before and after post processing


    Joey, as shot - for a 1/4 second at 18mm, f/3.5, ISO 6400 using 18-55mm IS kit lens, Auto White Balance


    White balance tweaked via color temperature slider then "Tune" button to adjust for tint. Chroma noise reduction maxed, and luma noise reduction increased slightly. Very slight pull down with curves.


    Saturation increased, contrast increased, curve used to bring highlights down quickly, and a small boost applied to shadows.


    On Flickr - Namethatnobodyelsetook on Flickr
    R8 | R7 | 7DII | 10-18mm STM | 24-70mm f/4L | Sigma 35mm f/1.4 | 50mm f/1.8 | 85mm f/1.8 | 70-300mm f/4-5.6L | RF 100-500mm f/4-5-7.1L

  9. #39
    Super Moderator Kayaker72's Avatar
    Join Date
    Dec 2008
    Location
    New Hampshire, USA
    Posts
    5,583

    Re: Before and after post processing


    Ok, so my first "real" attempt to post process something. Other pics the Osprey was more centered, but also out of focus.


    Canon 7D, 100-400L at 400mm, 1/1000th, f/11, ISO 400


    Before:


    [img]/resized-image.ashx/__size/800x0/__key/CommunityServer-Components-UserFiles/00-00-00-46-64-Birds/Osprey-1.JPG[/img]


    After adjusting brightness, contrast and mid-tone in Microsoft Office Picture Manager ([]). I'll try DPP and Photoshop, but I did this quickly this morning and liked the results.


    [img]/resized-image.ashx/__size/800x0/__key/CommunityServer-Components-UserFiles/00-00-00-46-64-Birds/Osprey-2.JPG[/img]

  10. #40
    Senior Member
    Join Date
    Dec 2008
    Posts
    300

    Re: Before and after post processing


    A Before and After of a Full Moon Rise over the trees and power lines.
    Using Photoshop CS5e I did a little content Aware fill using paths to remove the power lines, a little Faux HDR Toning to bring out the detail and contrast within the trees, and then finally a little levels adjustment to fine tune the mid-tone contrast a touch.


    [img]/resized-image.ashx/__size/800x0/__key/CommunityServer-Discussions-Components-Files/13/4150.MoonRiseBNA.jpg[/img]

Posting Permissions

  • You may not post new threads
  • You may not post replies
  • You may not post attachments
  • You may not edit your posts
  •