Page 1 of 2 12 LastLast
Results 1 to 10 of 18

Thread: Product photography tips?

  1. #1
    Senior Member
    Join Date
    Jul 2012
    Location
    Portsmouth, NH
    Posts
    336

    Product photography tips?

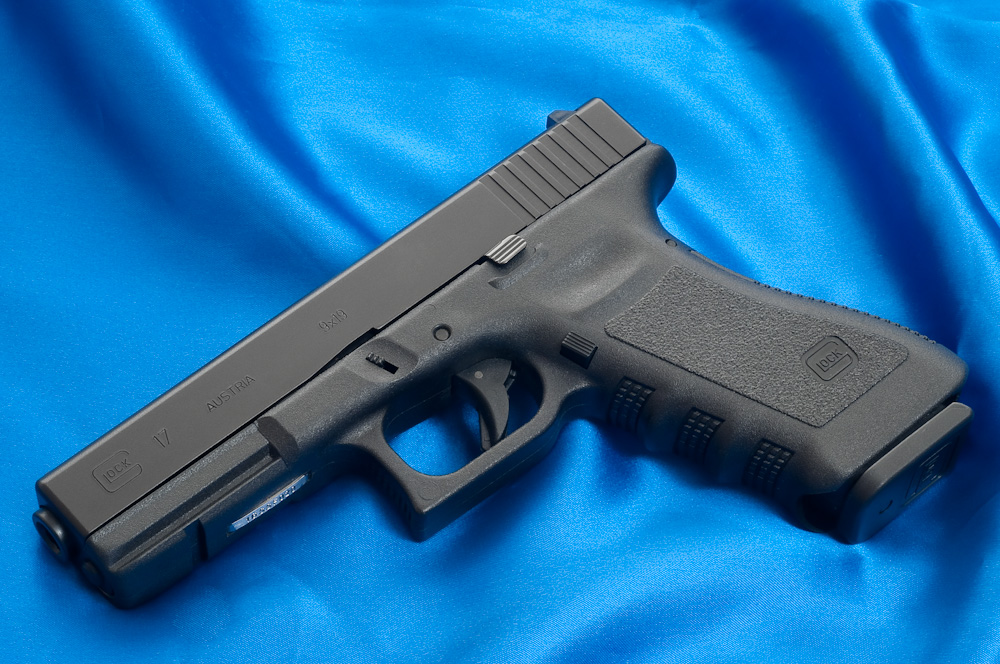
    In the next couple of weeks I am going to be purchasing a Gen4 Glock 19 for myself. I know, shame on me for not putting that money towards camera stuff, right?

    Anyways, when I get it, I won't be shooting it immediately. I want to, while it is still brand new and pretty looking, take some product-esque (is that even a word?) photos of it. I have a 5D MkIII, with a 24-105, 50 1.4, and 100mm macro to work with, as well as a 320EX flash with an off camera cord..

    I was just wondering if there was any tips or tricks to really get it to look awesome. I imagine most of it will come down to lighting, but is there anything else I should be aware of? Tips for a backdrop or placement? I've never tried shooting like this and I feel like the Glock will be a great subject.

    Any ideas are greatly appreciated, and feel free to share any shots you'd like to see when I get around to shooting. I'll have at my disposal the handgun (obviously), 3 magazines, a box or two of rounds, and the hard case it all comes in. If you have any ideas to incorporate those, that will be great.

    Thanks everyone!

  2. #2
    Administrator Sean Setters's Avatar
    Join Date
    Dec 2008
    Location
    Savannah, GA
    Posts
    3,360
    Hmm.....


    I'm thinking that you put the gun on a sheet of white copier paper on a sheet of glass (like a glass topped table). Shoot the flash from below the gun. This will cause the background to blow out but also cause a rim of light around the entire thing. Place your camera straight above the gun and shoot through a piece of white foam core (or some type of rigid, white material you can poke a hole though). This should bounce some light back at the gun allowing for detail to show in the primarily dark gun.


    You'll definitely lose some contrast shooting in this way (as light is coming straight into the camera), but it might work out well. I think it's worth a shot. Note: You can also use an empty fishtank turned on its side if you don't have a glass topped table.

  3. #3
    Senior Member
    Join Date
    Jul 2012
    Location
    Portsmouth, NH
    Posts
    336
    I do not have a fishtank or a glass table, but I am sure I can figure out something. Maybe trade off letting a friend send a few rounds downrange so I can use their table haha. That does sound like a great idea though. It sure is more interesting than a typical image (which I still plan on doing) such as this.

  4. #4
    Senior Member
    Join Date
    Jul 2012
    Location
    Portsmouth, NH
    Posts
    336
    Thats the Glock 17, not the same one I am getting, but very similar.

  5. #5
    Senior Member
    Join Date
    Dec 2008
    Location
    Ottawa, ON
    Posts
    1,445
    No tips on the actual photography, but just a friendly reminder to be careful of your phrasing.

    "Hey, can you take a shot of me holding the Glock?", not "Hey, shoot me with the Glock!".
    On Flickr - Namethatnobodyelsetook on Flickr
    R8 | R7 | 7DII | 10-18mm STM | 24-70mm f/4L | Sigma 35mm f/1.4 | 50mm f/1.8 | 85mm f/1.8 | 70-300mm f/4-5.6L | RF 100-500mm f/4-5-7.1L

  6. #6
    Senior Member
    Join Date
    Jul 2012
    Location
    Portsmouth, NH
    Posts
    336
    I was waiting for the shooting puns to show up, I am not disappointed.

  7. #7
    Administrator Sean Setters's Avatar
    Join Date
    Dec 2008
    Location
    Savannah, GA
    Posts
    3,360
    I decided to give it a go - a 1 light setup for shooting a Glock


    Glock: A One Light Setup by budrowilson, on Flickr

    From the image description:

    "I used an empty fish tank and 3 sheets of white copy paper to create this image. I put one sheet on the bottom of the tank to serve as the background for the gun. I then taped two other sheets across the top of the fish tank, leaving an opening in the middle to stick the lens through. I then suspended the fish tank between two chairs so that I could shoot a flash up through the bottom.

    The light from the bottom blew out the background (of course), but it provided a nice glowing rim light to the firearm. The sheets of paper taped to the top of the fish tank bounced enough light back to open up the shadows. I fine-tuned the contrast in post."

  8. #8
    Senior Member
    Join Date
    Jul 2012
    Location
    Portsmouth, NH
    Posts
    336
    That looks great. Is that yours Sean? If so, how do you like it?

  9. #9
    Administrator Sean Setters's Avatar
    Join Date
    Dec 2008
    Location
    Savannah, GA
    Posts
    3,360
    Quote Originally Posted by DavidWare View Post
    That looks great. Is that yours Sean? If so, how do you like it?
    Nope, not mine. That's my landlord's piece. I just asked if I could borrow it for a few minutes. ;-)

  10. #10
    Senior Member Jayson's Avatar
    Join Date
    Dec 2008
    Location
    Nebraska, USA
    Posts
    1,882
    I would think that shooting this would be like shooting a piece of jewelry. When I have photographed jewelry in the past, I used a DIY light tent. Google that and you should get some good ideas. That way you don't need a bunch of lights to make it work. I used a constant light underneath and then used the flash shot through some kind of diffusion, like an umbrella, before it went through the light tent diffusion. I went to home depot and purchased a heat lamp, then purchased a 200 watt CFL bulb with color correction to 5500k. The hot light color was a little cooler than the flash, but it wasn't noticeable once your send the light through the bottom diffusion. I used a large piece of glass out of a 16x22 picture frame on the bottom propped up with some wood blocks on the side out of frame. Then shot the flash from above and adjusted as needed (whether flash strength or position of the actual light) to get rid of reflections and burning out the background too much. If you use the glass and want, you can get a neat shadow/reflection of the piece if the camera is positioned correctly. I don't have an example of that handy at the moment, but its pretty cool. If you want to make a gradient for the background, shifting the middle from bright white to a lighter gray, get another hot lamp and position it behind the light tent behind the piece.

    Hope that helps.

    This shot is directly on the glass sitting on the white material. I did this since the reflection detracted from the actual piece


Posting Permissions

  • You may not post new threads
  • You may not post replies
  • You may not post attachments
  • You may not edit your posts
  •