Page 2 of 2 FirstFirst 12
Results 11 to 17 of 17

Thread: Night Photography

  1. #11
    Senior Member
    Join Date
    Nov 2011
    Location
    Big Mouse Florida
    Posts
    1,172
    Shoot only "M" otherwise the camera will overcompensate in its attempt to make it look like daytime.

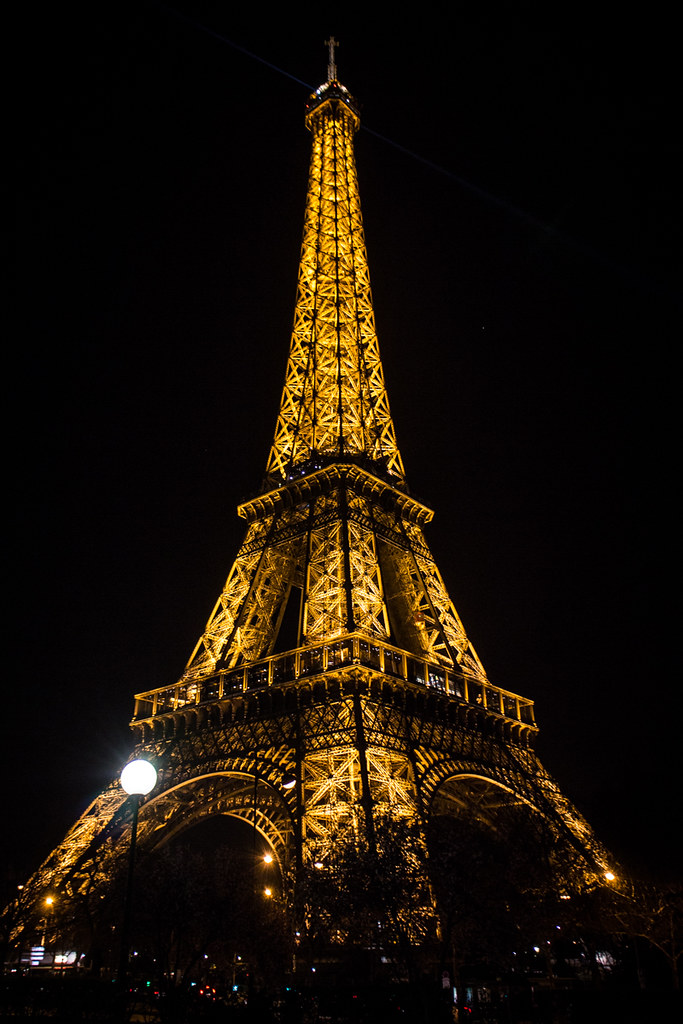
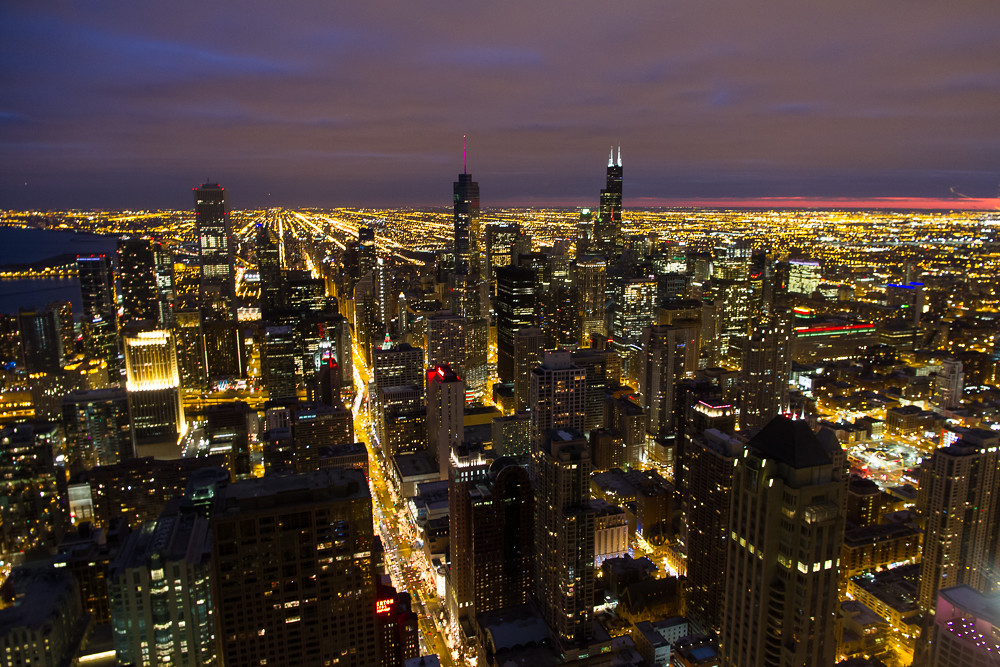
    If you are doing a street seen, I would start w/ 1/30th and wide open aperture and then move the ISO to where the exposure looks good to you. bump shutter speed to 1/60 if you can still get decent exposures & iso below 3200. Always w/ IS switched to "ON" on the lens.

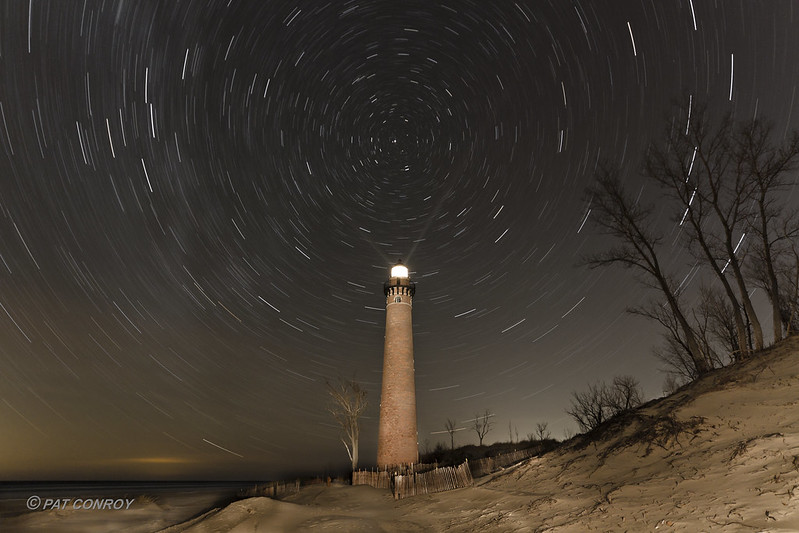
    Starscapes 600/focal length (24mm = 25 seconds) max exposure speed. F4 is a good starting point, try to go further open and lower ISO and shutter speed to reduce the electronic noise created by the sensor and signal amplifier in the camera. on a tripod w/ lens IS switched to "off" (longer focal length and longer shutter times turns the stars into little lines i.e. star trails vs. star dots)

    HAVE FUN!
    If you see me with a wrench, call 911

  2. #12
    Senior Member conropl's Avatar
    Join Date
    Dec 2008
    Location
    West Michigan
    Posts
    1,466
    For stars: Yes, max shutter speed = 600/focal length, but personally I use 500/focal length because at 25 seconds and 24 mm there is still a little visible star elongation (not that noticeable though). However, that assumes you want pin point stars, but it is going to be very difficult to achieve that with a max aperture of f/4. With a focal length of 24 mm at f/2 it is doable or 14mm at f/2.8 also works.

    With your lens, I would be more inclined to lower the ISO to reduce the noise and drive up the shutter speed really high and go for some really long star trails. That is, go to"Bulb" mode, and try to get a 15-20 minute shutter speed. Start with a high iso just to dial in the exposure using the histogram, and then lower the ISO to 100-400 counting how many stops of iso you lower from the optimal exposure you just determined and increase you shutter speed accordingly.
    For example, if the exposure looked good at ISO 3200, f/4, Tv=100 seconds (which is where I would start in full darkness with your lens), then to get to an ISO of 100 you have to lower the ISO 5 stops. Which means you need to double your shutter speed for every stop you lower the ISO. In this example, the shutter speed would need to be 100x2x2x2x2x2 = 3200 seconds = 53 minutes. A little long... so go up a stop on the ISO to ISO 200 and now the shutter speed is 27 minutes still kind of long. If you go up another stop on ISO to ISO 400, then your shutter speed is 13 minutes and 20 seconds (now this is more reasonable). That is how I dial it in and the results can be very interesting. Here is an example:


    Littel Point Sable Lighthouse with Star Trails-3900 by Pat Conroy, on Flickr
    5DS R, 1D X, 7D, Sigma 10-20mm f/4-5.6, 24mm f/1.4L II, 16-35mm f/4L IS, 24-105mm f/4L, 50mm f/1.8, 100mm Macro f/2.8L, 70-200mm f/2.8L IS II, 100-400mm f/4.5-5.6L, 580EX-II
    flickr

  3. #13
    Super Moderator Kayaker72's Avatar
    Join Date
    Dec 2008
    Location
    New Hampshire, USA
    Posts
    5,573
    Just to mirror some of what the others have said. Shooting natural evening/night scenes and artificial light in the evening/night are very different. Among the issues is typically high contrast and high dynamic range for the artificial lit scene versus an often low-reasonable dynamic range (and often low contrast) of the naturally lit scene.

    Like any high dynamic range scene, you typically have to pick what you want to properly expose. If you expose properly for the city lights, the rest of the scene may seem dark. Expose properly for the landscape and you may blow out your artificial lights. This is one reason why you seen a lot of "nightscapes" with artificial lights shot at a full moon or during the "blue hour" (one hour after sunset). This helps narrow the gap in the dynamic range of the scene.

    A few examples:

    Exposed so that the lights of the tower were properly if not slightly under exposed (for definition)...but the background is totally dark (underexposed)
    small-4294 by kayaker72, on Flickr

    Taking advantage of blue hour....just after sunset...but notice much of the moon is blown out.

    small-6264 by kayaker72, on Flickr

    Another shot just after sunset...providing some light for the clouds.

    Chicago-0747 by kayaker72, on Flickr

    Another just after sunset providing some light to the scene, but exposed for the city lights:

    Small-3716 by kayaker72, on Flickr

  4. #14
    Senior Member Kombi's Avatar
    Join Date
    Feb 2012
    Location
    Alberta, Canada
    Posts
    309
    Kayaker, Those are beautiful night shots

  5. #15
    Senior Member
    Join Date
    Aug 2012
    Posts
    205
    Those shots are amazing, conropl and kayaker72

    I think I need to learn how to expose for each type, it'll mainly be city lights at this stage but want to do stars later too. The way I expose for them now is keep them in the frame and actually focus on them a bit then take the shot. But this probably isn't the best way.

    I'll switch to manual and give it a crack too. I mainly use AV/TV for most things so I'm guessing this is where I'm going wrong. Mind you, I tried exposure compensation etc at some very different settings like +3 or -3 and it literally made no difference to the photo... Mind you, I'm guessing the camera was still trying to make it look like daylight etc

  6. #16
    Senior Member
    Join Date
    Dec 2008
    Location
    Ottawa, ON
    Posts
    1,445
    Squidy, M is definitely the way to go... but if exposure compensation made no difference, perhaps you adjusted "flash exposure compensation" by mistake.

    Regular exposure compensation isn't always accessed as easily as it should be. Assuming your camera works the same as the 7D2. The ISO button lets you adjust ISO and FEC (flash EC). This is not the EC you want. In Av or Tv mode, you need to half press the shutter then dial in your EC. In M mode, this doesn't work. For M you need to bring up the quick control menu (this works in Av or Tv mode too, it's just more button presses), move over to the giant EC / bracketing section, select it, and then adjust the EC.
    On Flickr - Namethatnobodyelsetook on Flickr
    R8 | R7 | 7DII | 10-18mm STM | 24-70mm f/4L | Sigma 35mm f/1.4 | 50mm f/1.8 | 85mm f/1.8 | 70-300mm f/4-5.6L | RF 100-500mm f/4-5-7.1L

  7. #17
    Senior Member
    Join Date
    Aug 2012
    Posts
    205
    Yeah, I was doing it through the quick control menu. Weird, I'll give it a crack again tonight and see how it goes.

Posting Permissions

  • You may not post new threads
  • You may not post replies
  • You may not post attachments
  • You may not edit your posts
  •