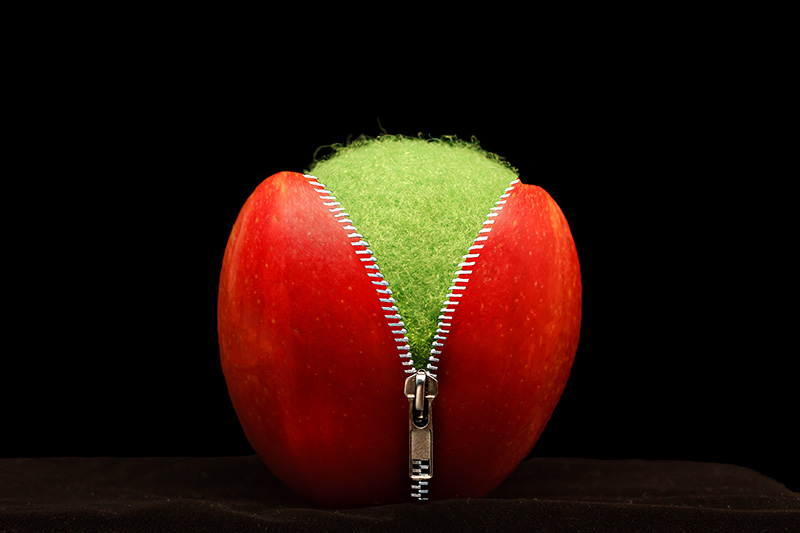
Very cool! You have to tell us how you did that. It seems to me you actually stitched the zipper to the apple. How did you avoid wrinkles on the apple surface?
/Eldar
Very cool! You have to tell us how you did that. It seems to me you actually stitched the zipper to the apple. How did you avoid wrinkles on the apple surface?
/Eldar
Thanks! I know it is rather wierd but it gave me a chance to practice using some tools in photoshop that I don't normally use. I saw a video on this and thought I would give it a try. It really is rather simple and only involves about 3 layers. I could have gotten more creative with it but didn't really spend much time on it. Basically, it involves taking three photos, one of an apple (or whatever you want to place the zipper on), a photo of a zipper (best to use on that is attached to something black) and a photo of what will be inside the apple.
The two tools that I used that I don't normally are the transform tool to open the apple and the liquify tool to stretch the zipper over the edge of the apple.
Here is the video I got the idea from. Best advice I can give is to make sure you open the zipper wide! The liquify tool isn't the easiest tool to use and the wider the zipper is opened, the less liquifying you will need to do. I had to use it alot and it was a pain!
http://www.photographytalk.com/forum...with-photoshop